Add store locations
Create one location for each store, dealer, stockist, or other place that customers should be able to find.
Before you begin
- Connect Mapbox so address search and the map work.
- If you want to select images or a custom pin icon, configure WebDAV.
Create a location
- In Store Locator, open Locations and select Create location.
- Enter a unique, customer-friendly Name.
- Choose the storefront Channels where the location should appear.
- If you use groups, assign the location to the relevant groups.
- Leave Enabled selected if the location is ready to appear on the storefront.
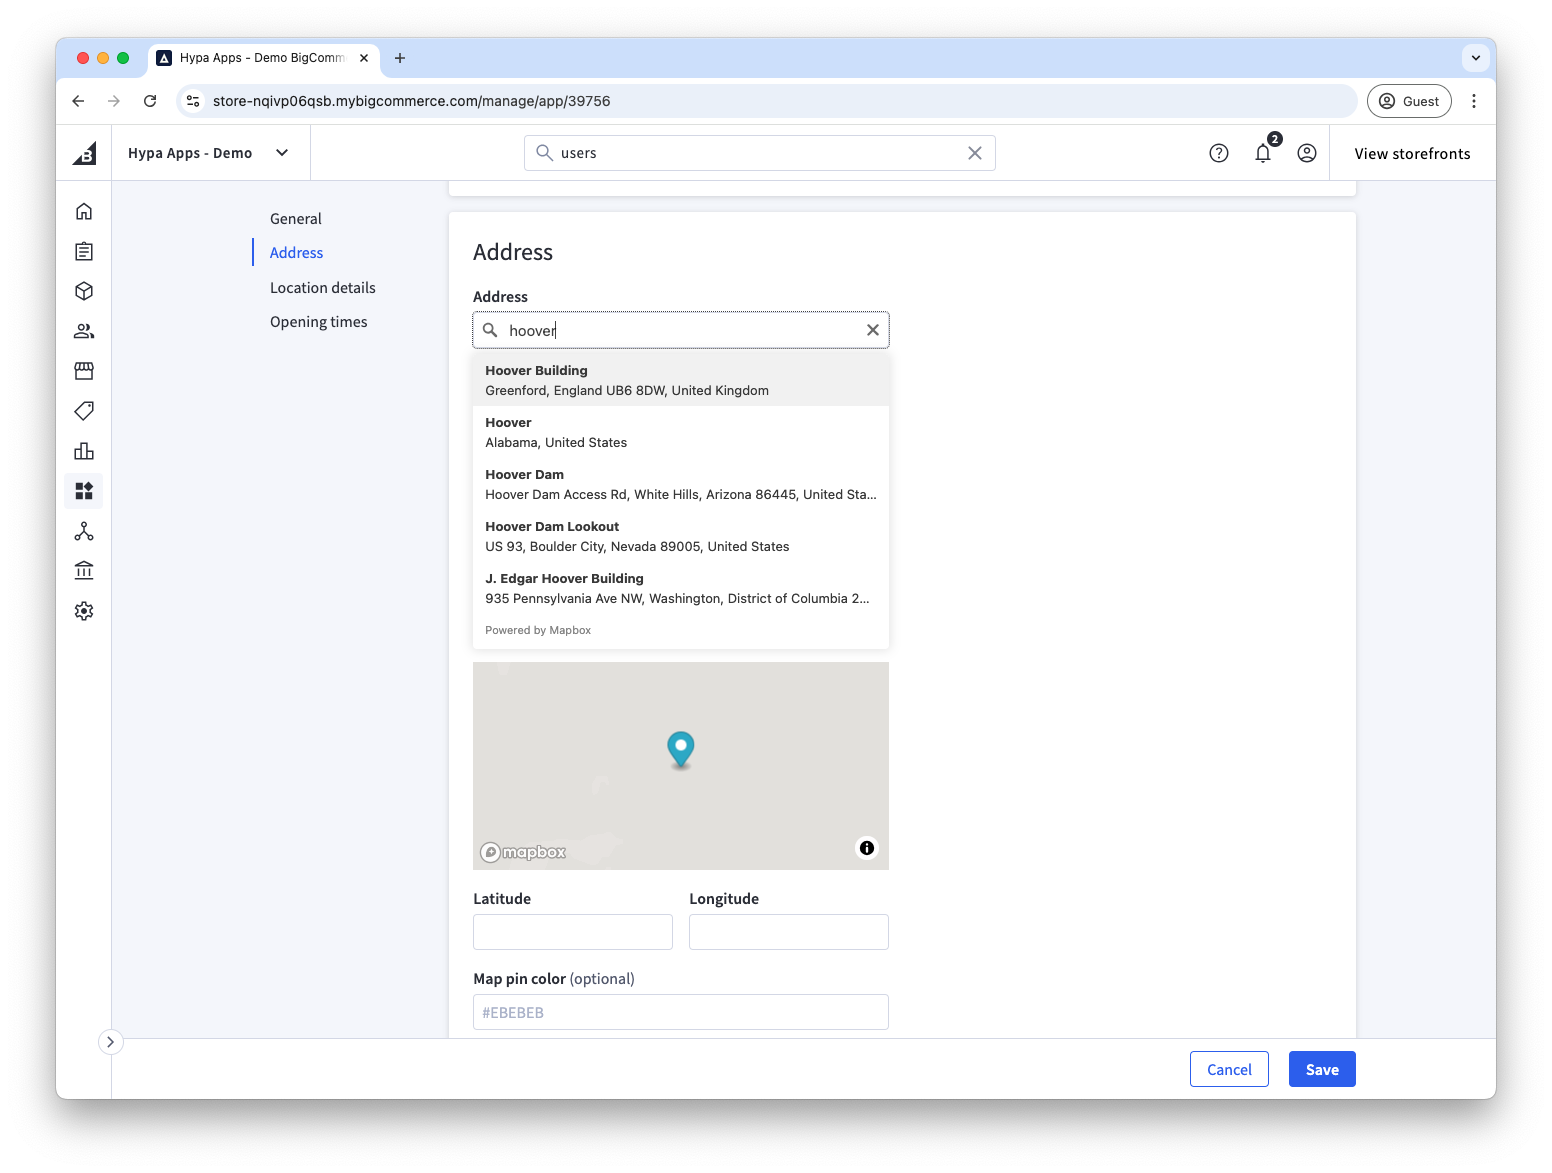
- Search for the address and choose the correct suggestion. Store Locator fills the address and coordinates from Mapbox.
If the pin is not in the right place, drag it to the precise position. A location needs valid latitude and longitude values before it can appear on the storefront.
-
Optionally choose a map-pin colour or WebDAV image for the pin icon.
-
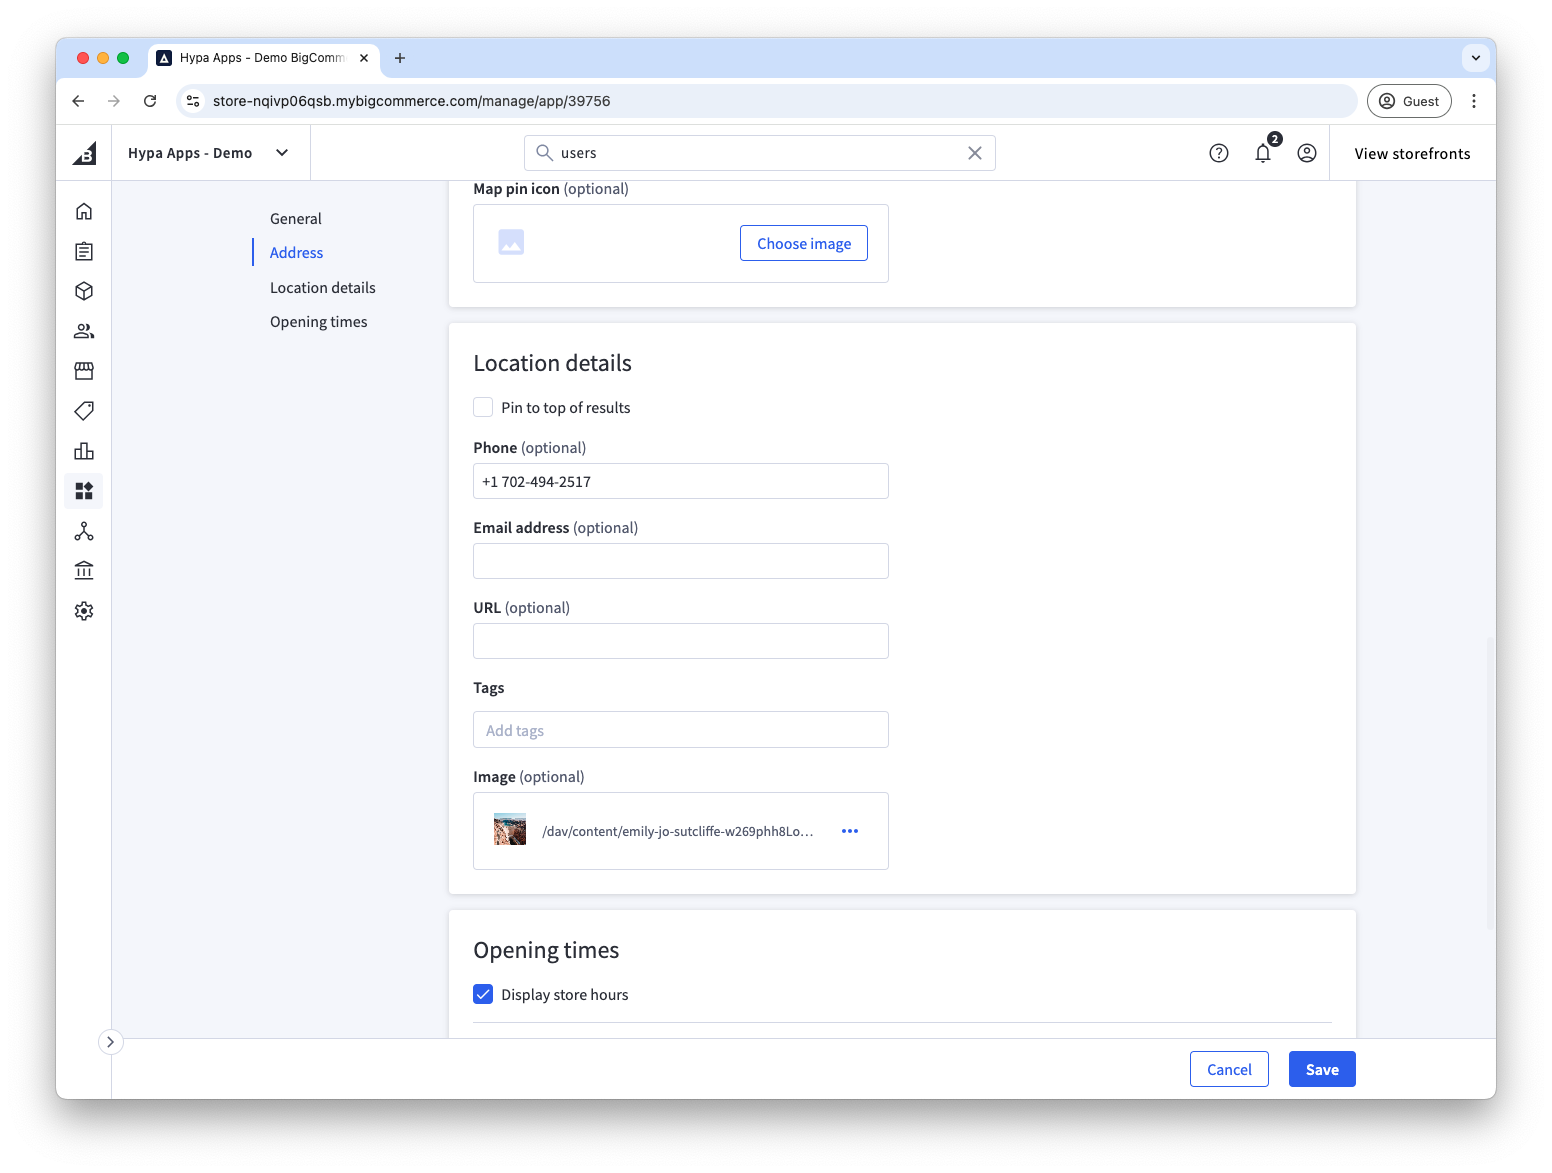
Add the phone number, email address, and URL you want customers to see.
-
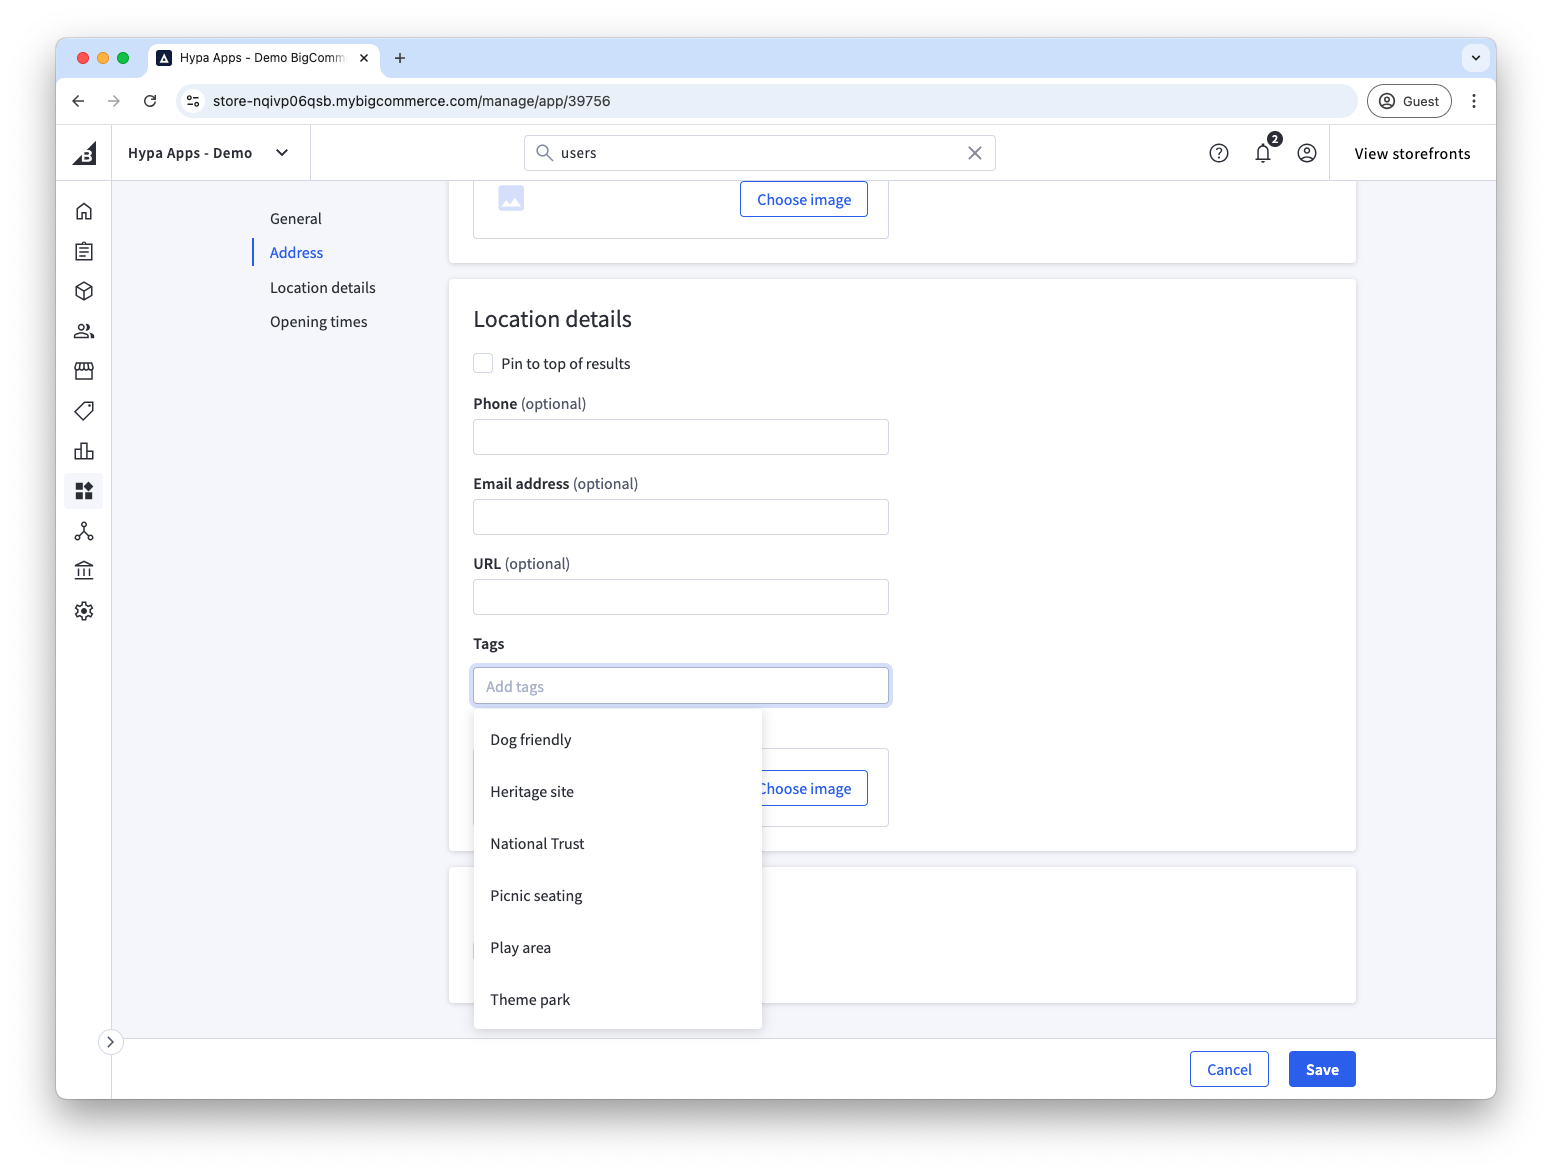
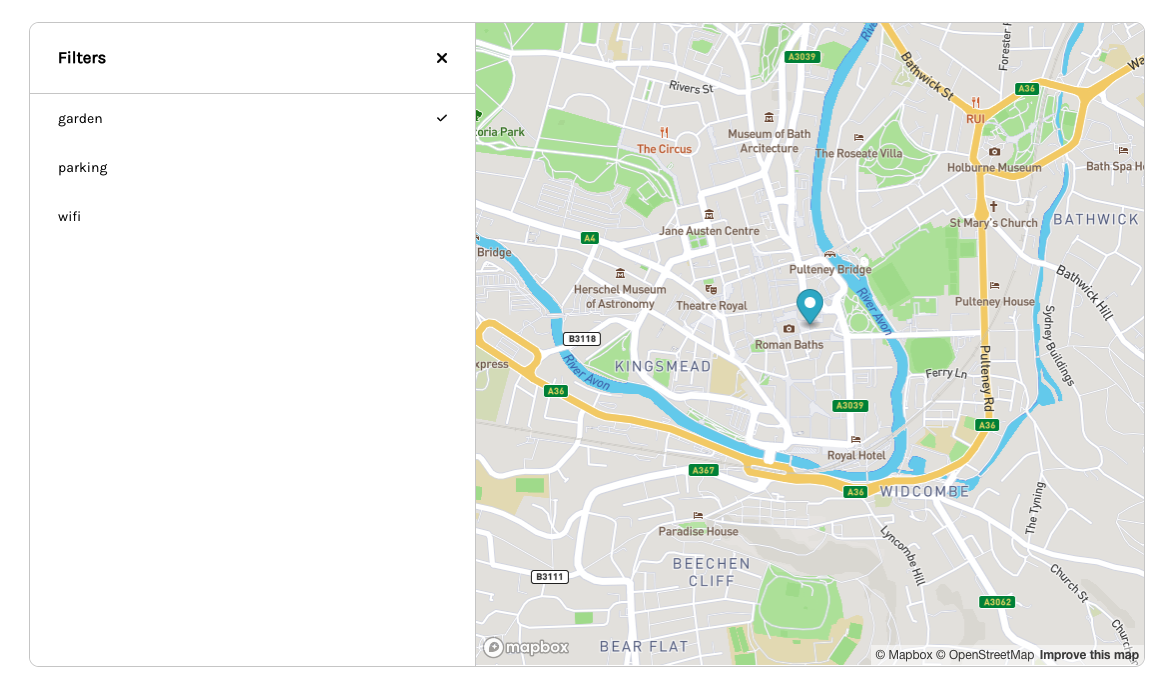
Add tags for features or services such as parking, Wi-Fi, or click and collect. Tags become storefront filter options.
-
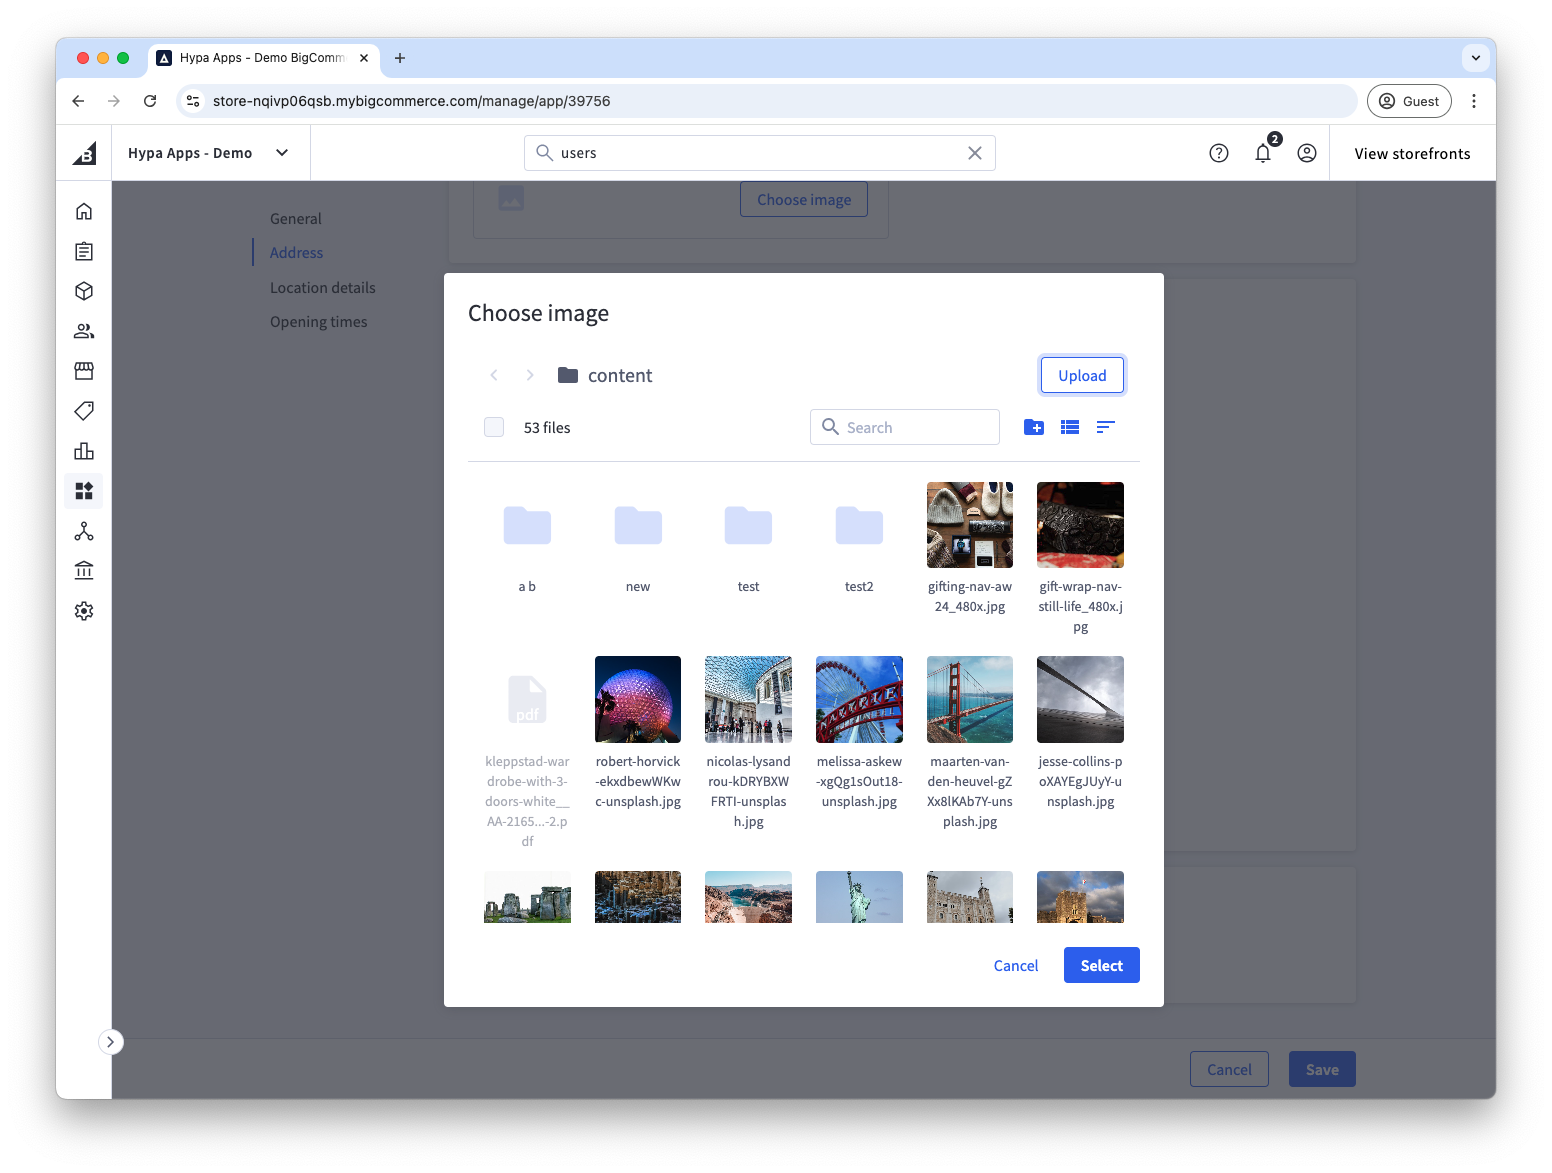
Optionally select Pin to top of results, add a location image, and add formatted notes.
-
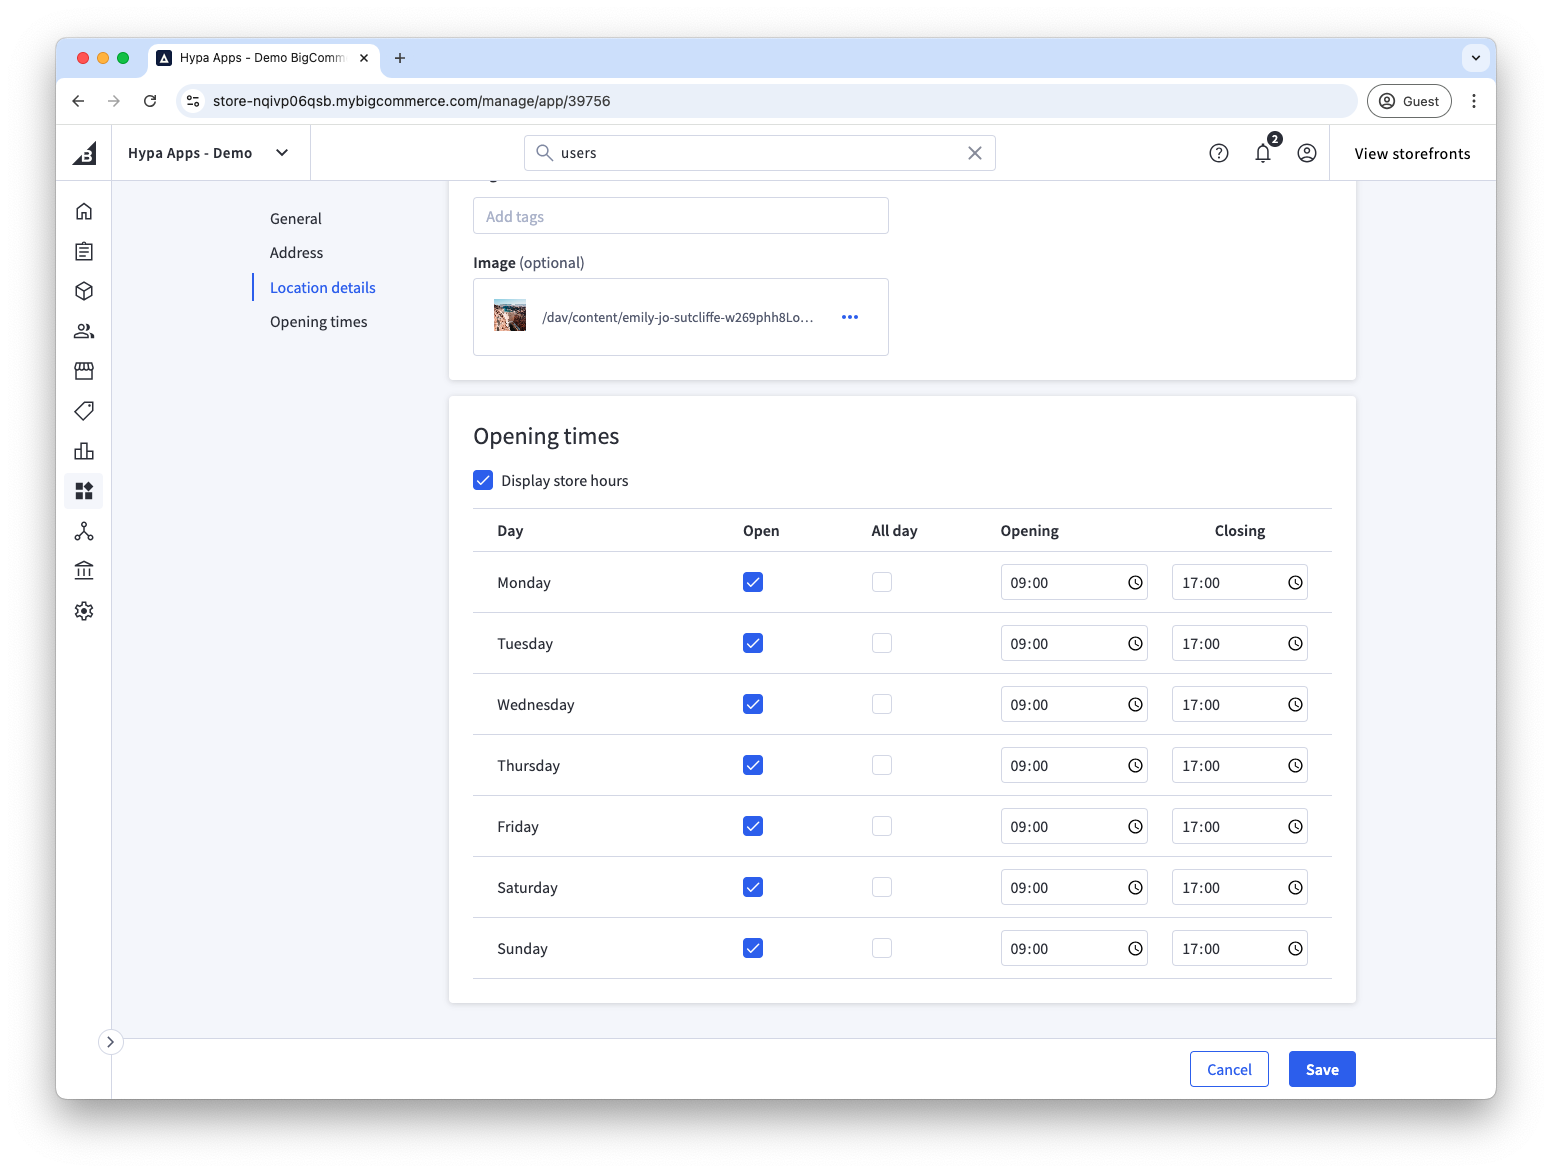
Enable opening times and set the hours for each day, including closed or 24-hour days.
-
Save the location.
The location is available to widgets for its assigned channels and groups. If it does not appear, work through the visibility checks in the FAQs.